When preparing a property for listing, the goal is not just to show four walls and furniture, but to create a home where someone can imagine living. Staging properly helps draw out the potential of your London property: cosy nights in the living room, family dinners in the dining room, or quiet mornings in a sunny bedroom.
That's why prep and professional photography work hand in hand. Staging gets your property looking its best in person, and professional photography and editing showcase it to its best advantage online. At Prime Perspectives, we've created a prep guide, a collection of practical, budget-friendly tips we apply to every photoshoot to get our clients' homes looking their best.
Declutter, Clean Up and Depersonalise
Clutter is visually distracting and makes a room feel smaller. Depersonalising makes it easier for potential buyers or renters to picture themselves in the house.
Clear floors and surfaces, especially tables, counters, and desks.
Pack up personal photos, magnets, children's artwork, or superfluous décor.
Straighten furniture and plump cushions to maintain neatness.
Hide remotes, pet dishes, trash, and cords.
Iron and smooth bedding, and neaten towels.
Straighten dining chairs and ornaments.
Easy trick: Pick a cupboard, wardrobe, or even a suitcase to be your temporary storage space. Move small items in there before the photoshoot, a simple, cost-free way to create a calm space without stripping all character.
Let the Light In (and Enhance with Editing)
Light makes a huge difference to the ambience of a property. Natural light makes rooms feel spacious and welcoming.
Open blinds fully and straighten curtains.
Ensure all light bulbs are working and switch on all the lights in every room.
Clean windows to maximise daylight.
In spite of these precautions, some properties just don't get the best natural light. That's where professional editing brings the results to the next level. At Prime Perspectives, our photographers not only capture the right angles but our editing team also edit photos in post-production, tweaking brightness, colours, and shadows to showcase your property in its absolute best light.
Simplified Furniture Arrangement
Furniture arrangement affects how rooms are interpreted on camera. Asymmetrical or cluttered arrangements make the rooms look smaller.
Commit to one or two pieces of furniture per room.
Create flow by pulling furniture slightly away from the walls.
Take out big items blocking natural sightlines temporarily.
In dining rooms, a beautifully set table enables viewers to imagine themselves hosting dinner parties, and in reception rooms, a sofa with a plumped-up coffee table creates an inviting focal point.
The Power of Colour and Textiles
Colour influences mood and energy in photos. Neutral backgrounds are clean and timeless, and pops of colour add personality.
Crisp white or pale-coloured bedding always looks great.
Add small bursts of colour with cushions, throws, or accessories.
If you already have dark fabrics or bold patterns, don't worry; balance them with lighter hues and less busy textures to preserve the overall feeling of freshness.
This trick creates photos that are both aspirational and realistic, with just the right amount of brightness.
Freshen Up with Greenery
Adding flowers and plants brings life to rooms and helps soften harder surfaces in photos.
Place a plant on a shelf or near a window to introduce a natural element.
Place a vase of freshly cut flowers in the kitchen, dining, or reception room the day of the photo shoot — it's a subtle touch that immediately makes the room more sophisticated.
Don't overdo it! One or two thoughtful touches go further than trying to fill every surface.
Kitchen and Bathroom: Shine is Key
Kitchens and bathrooms are functional rooms, but they are emotional rooms for buyers, too. A glossy finish photographs well.
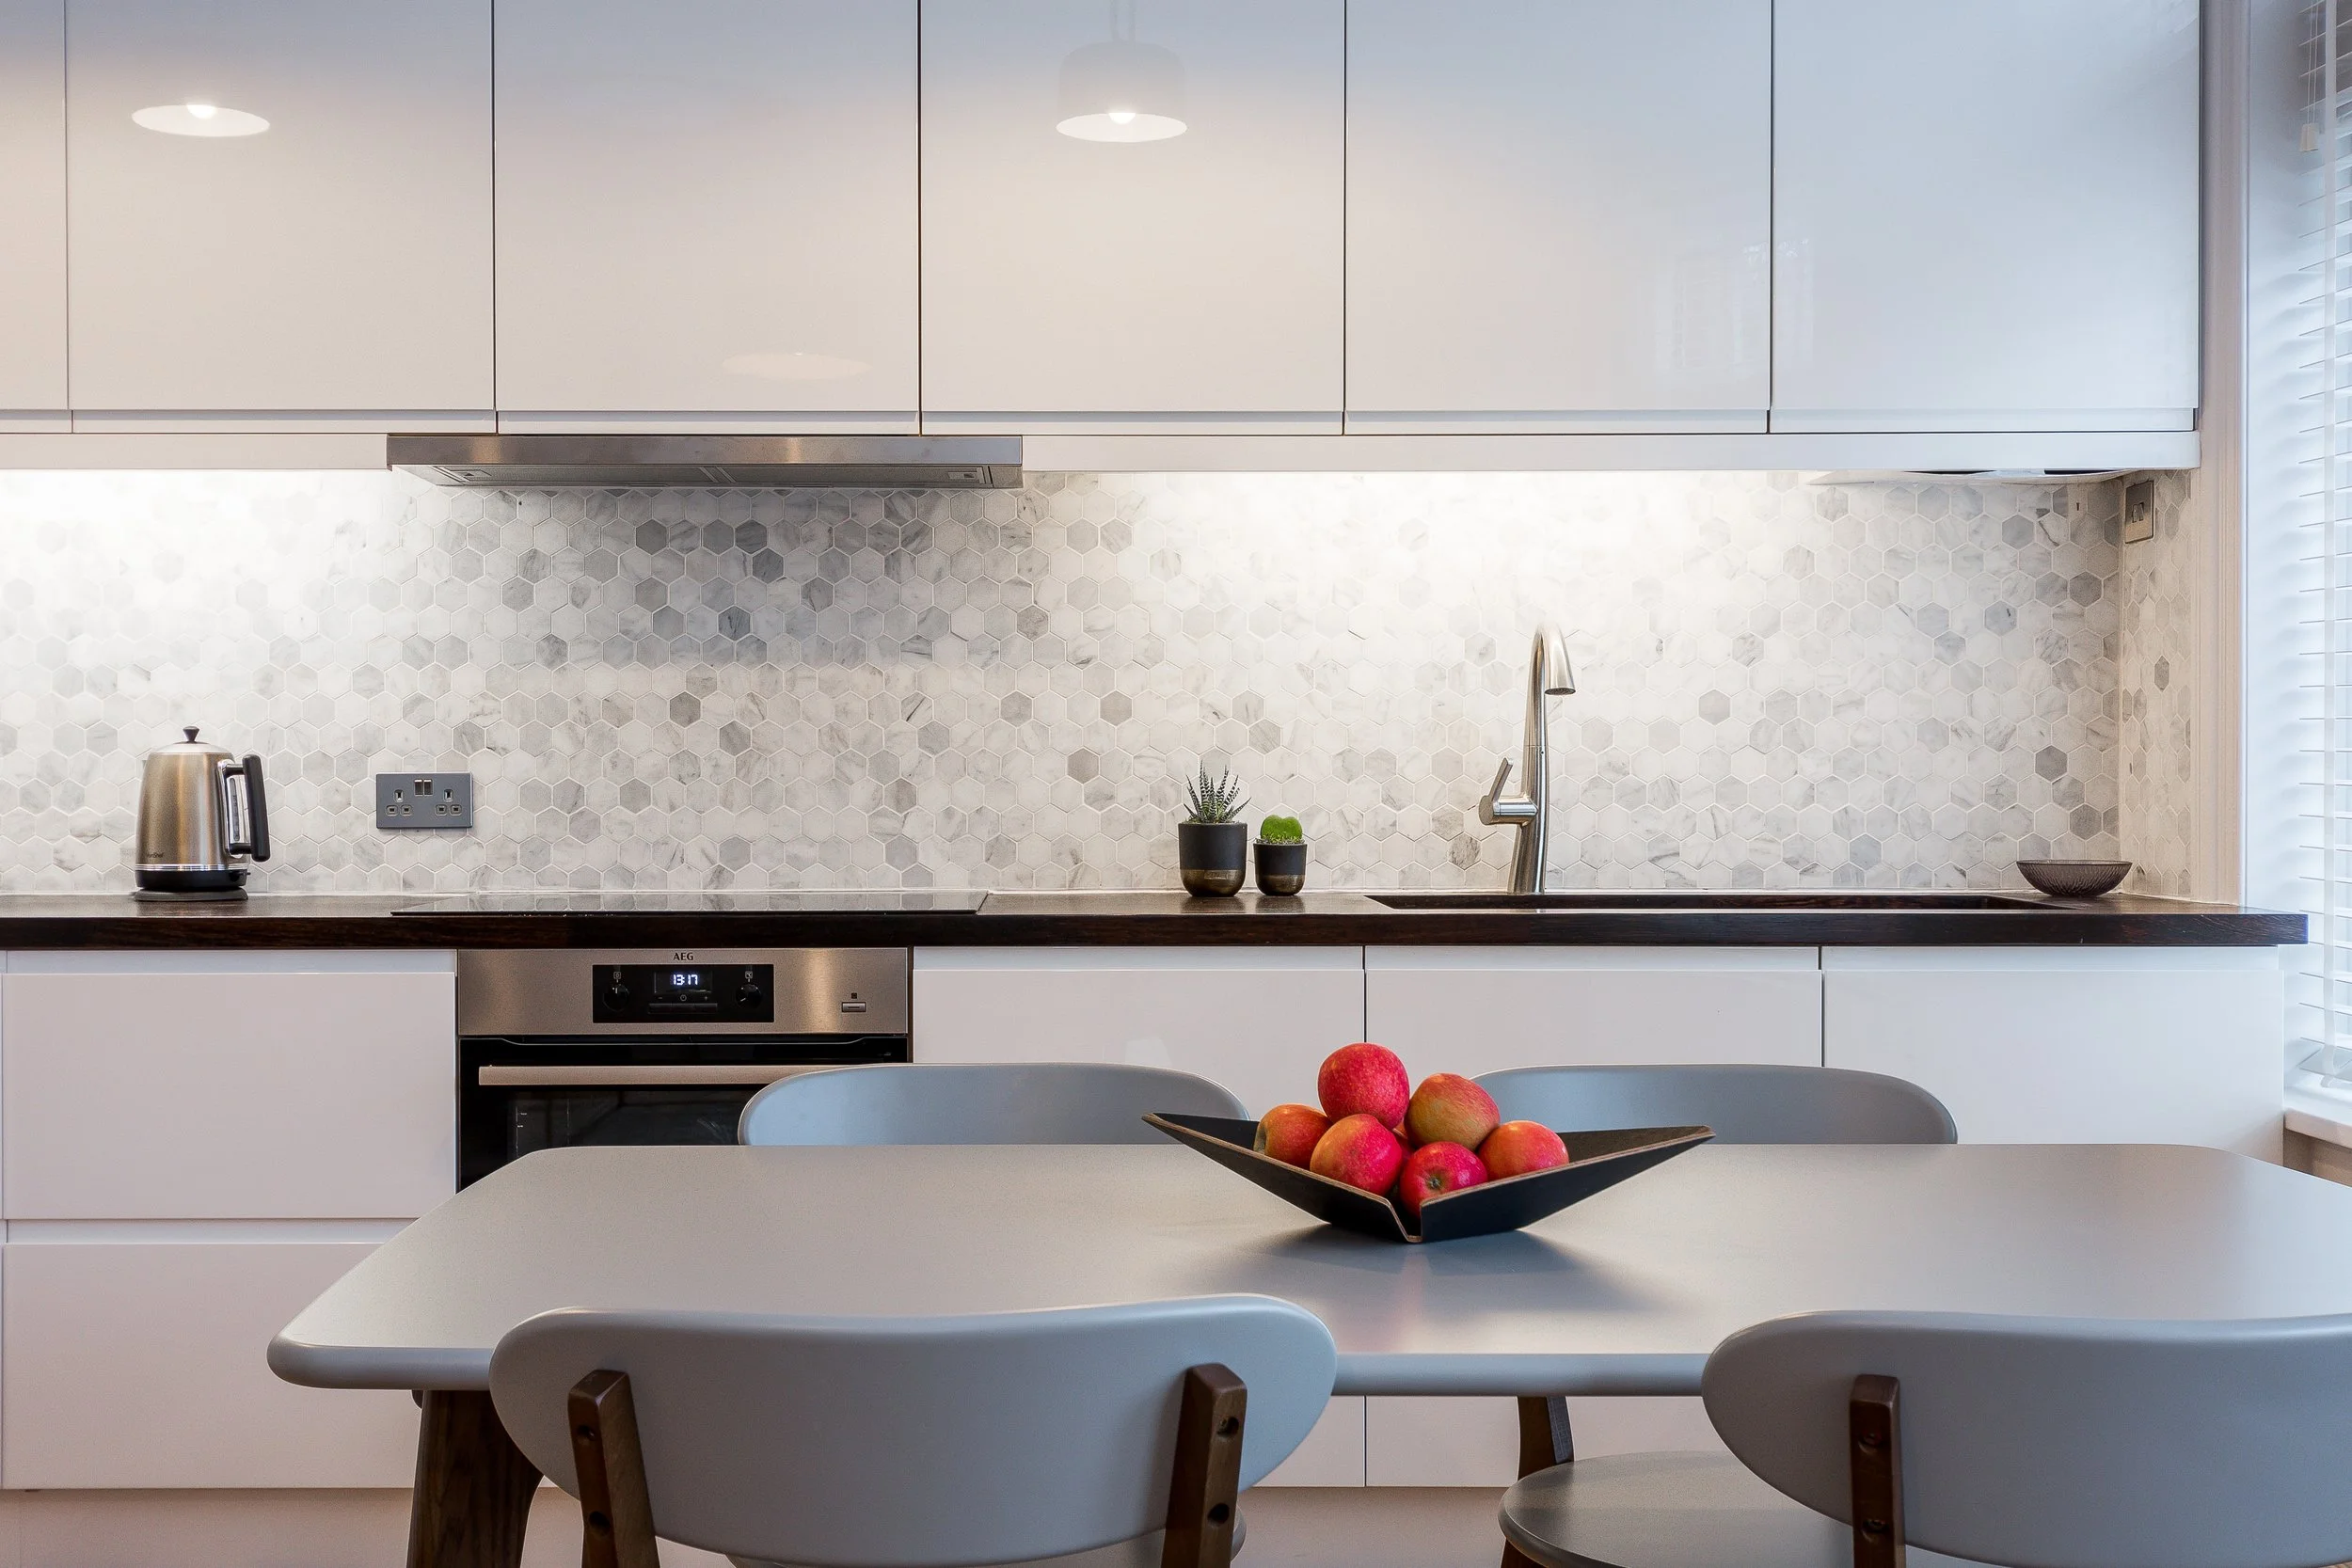
Clear countertops completely, and leave only one or two designer pieces (like a fruit bowl or coffee maker).
Soaps, plugs, bins, and cleaning materials need to go.
Colour-coordinated towels and folded linens in bathrooms create a good look.
Candles, fresh flowers, or even attractive bottles can add interest.
By creating a sense of order and freshness, these rooms will be move-in ready, instead of being cluttered with the detritus of daily life.
Don't Forget the Outside
The outside photo is usually the first photo people view, and first impressions matter.
Move vehicles away from the property to give a clear façade.
Put bins, hoses, toys, or tools out of sight.
Mow lawns, rake leaves, and tidy hedges.
A fresh potted plant or welcome mat at the door adds charm at minimal cost.
Even small improvements outdoors will make your property look more inviting and add "curb appeal."
Work With Your Photographer
Our photographers don't just press a button; they're your partner in presenting your property. Ask for their advice:
What angles will photograph a room best?
Should something be relocated for the photo?
What can be adjusted to make the shot stronger?
By working together, you’ll make sure your home is shown in its best light, with images that draw in prospective buyers or tenants.
For Unfurnished Properties: Virtual Staging
Empty properties can be harder for viewers to connect with. Without context, rooms feel flat and uninviting. Virtual staging is a cost-effective alternative to physical furniture rental.
Our team can digitally add stylish furniture and décor to blank rooms so buyers can visualise how they might use the space. Realtor.com reports that virtually staged homes can sell up to 75% faster than unfurnished, vacant ones. It's a smart decision that will keep your listing competitive without the cost or hassle of staging.
Final Thoughts
Home staging for a photo shoot is all about exposing potential: how a living room can be lived in, how a kitchen can be warm and inviting, and how a bedroom can be serene. With a little planning, some well-chosen details, and the assistance of professional photography and editing, you can present your home in its most flattering light without spending a fortune.


